
 Mia Hartley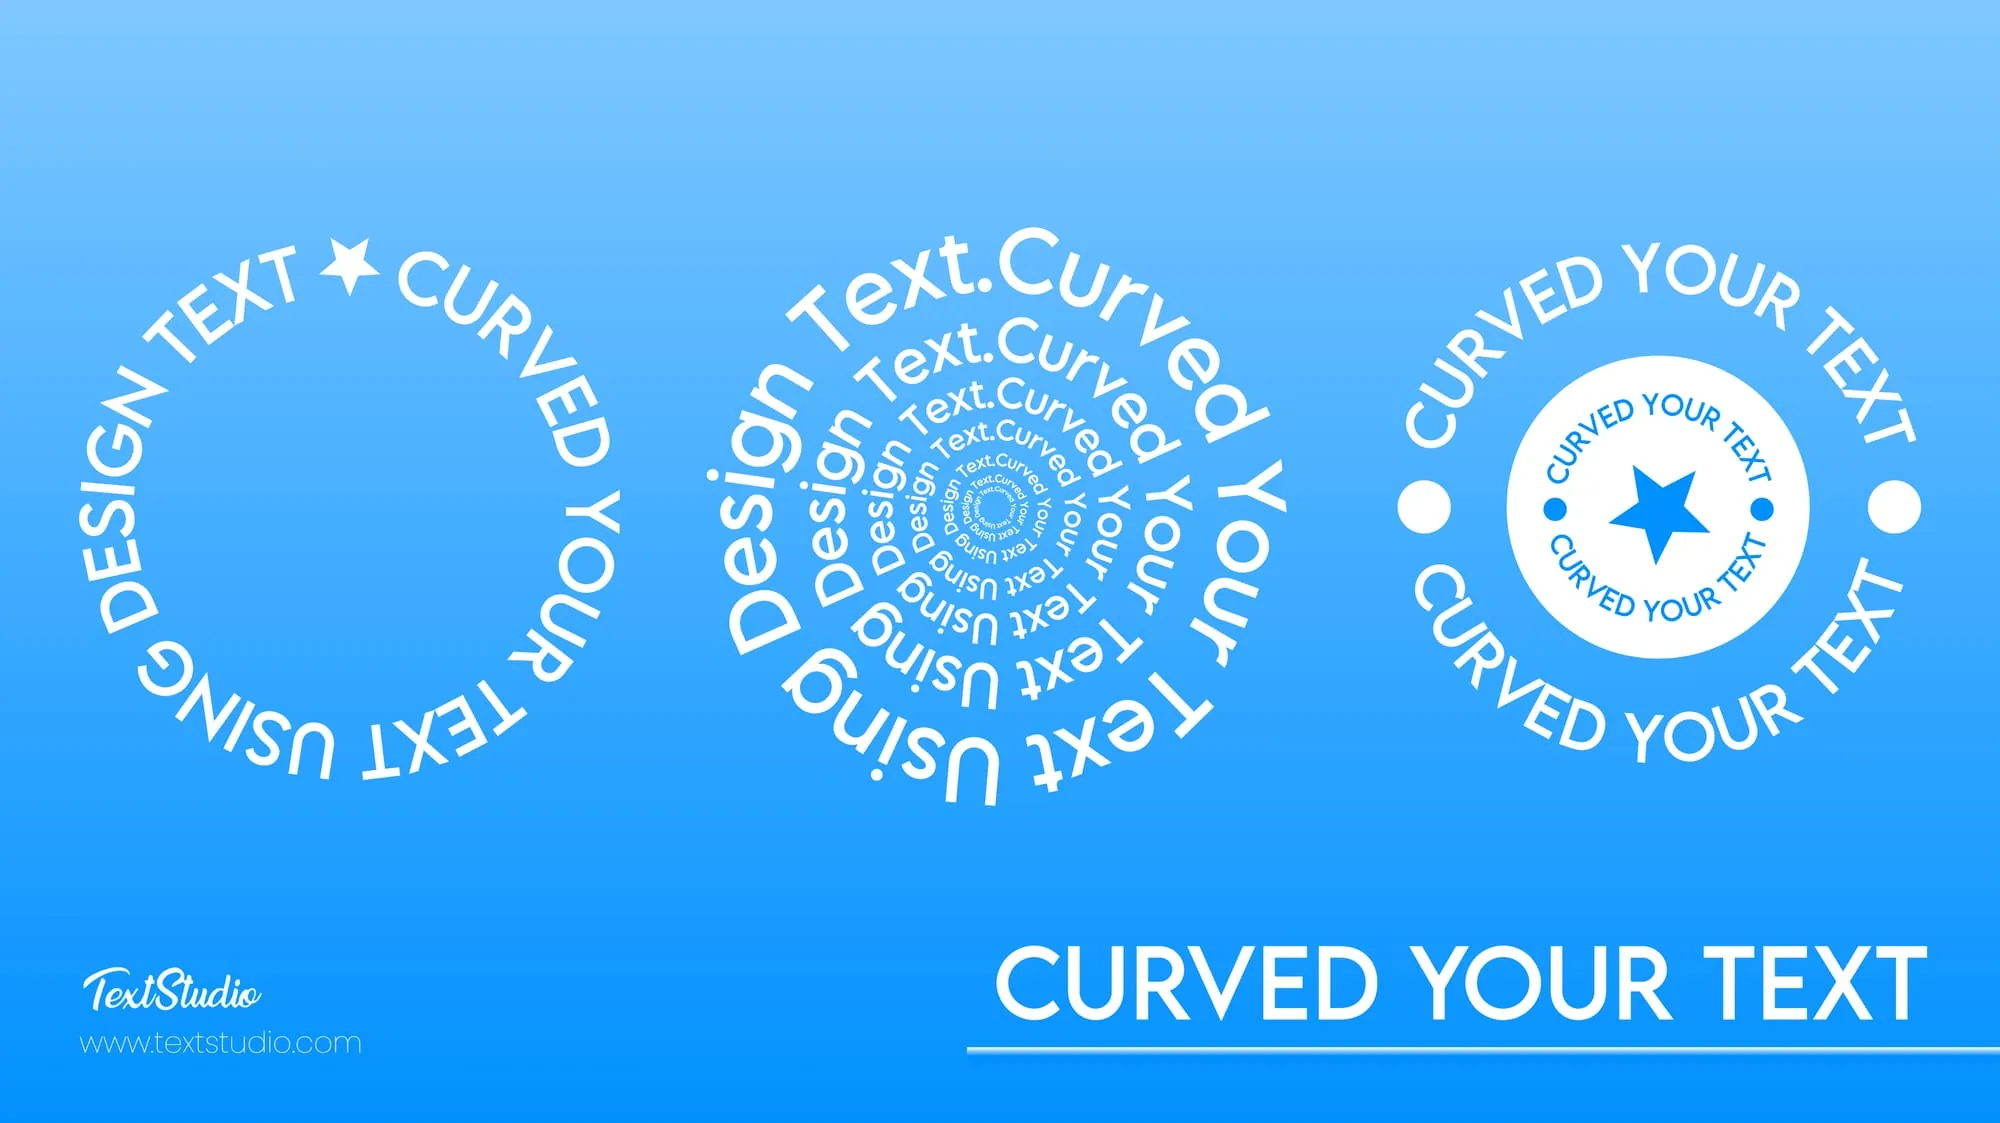
A straight line of text is easy to ignore. Curve it, and it suddenly reads like a badge, a logo, or a stamp on a coffee mug. Arched team names, circular seals, text that hugs a photo: that gentle bend is what makes a design feel finished.
You do not need Photoshop for it. Design Studio's free curved text generator does it right in your browser, with a single slider. Here is how to go from a flat word to a polished curve in a couple of minutes.
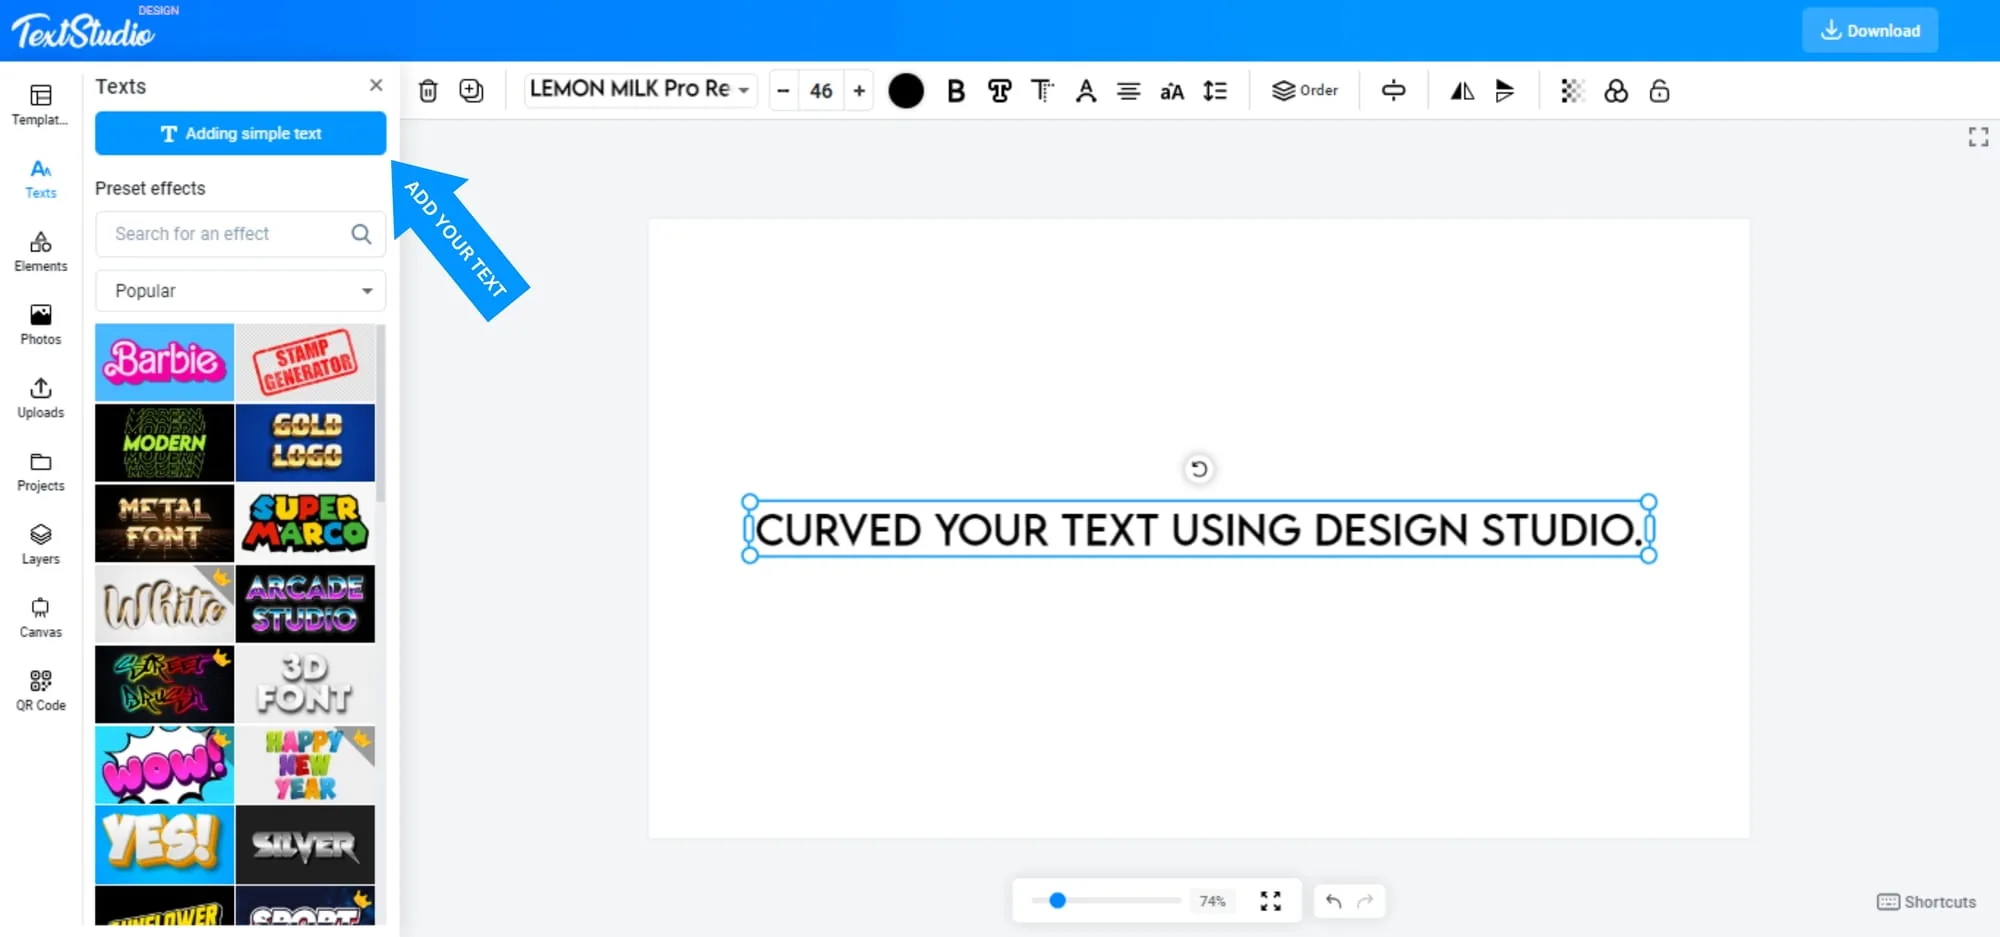
Type your text
Open Design Studio, add a text layer and type your word, name or slogan. Pick a font and a color first, because a bold, rounded font curves far more cleanly than a thin one.
Bend it with the radius slider
Select your text, choose the Curve Text option, and drag the radius slider. That one control does all the work: a small amount gives a soft arch, more tightens the bend, and the text follows in real time so you can stop exactly where it looks right.
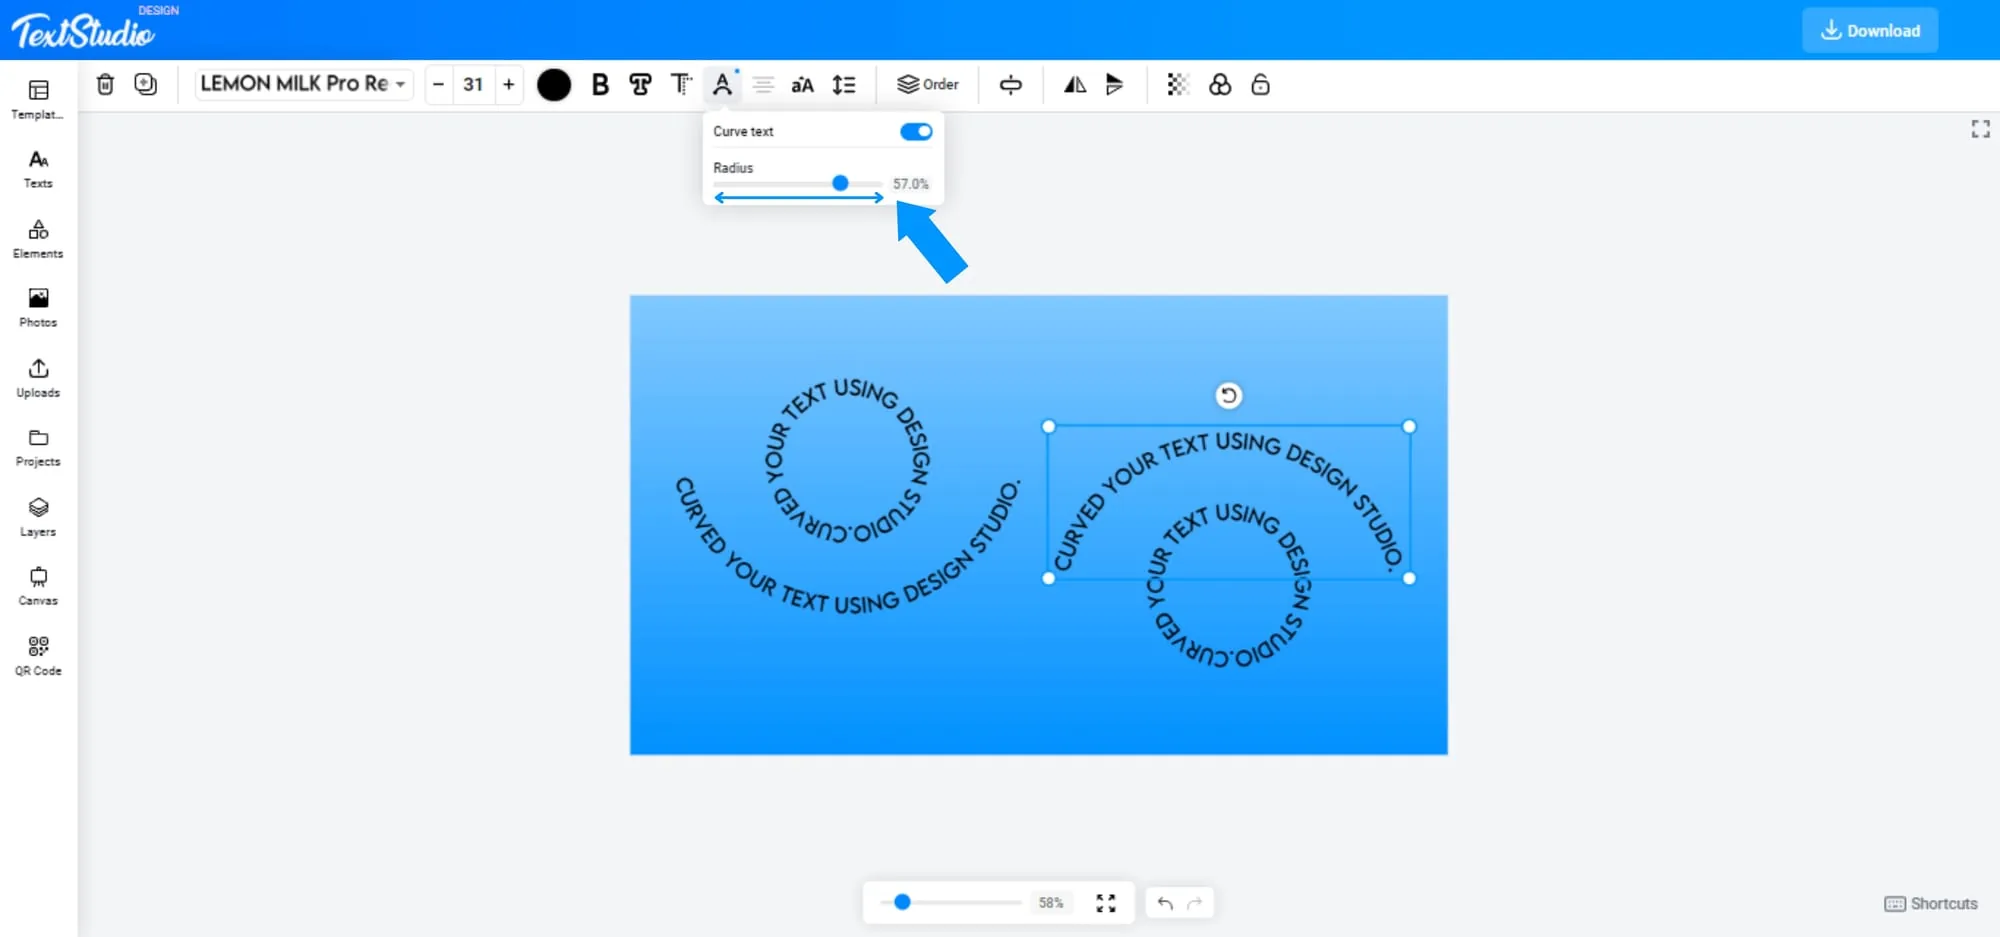
An upward arch is the classic sports jersey and vintage badge look. It is also perfect for the top half of a round logo or a beer-label style banner.
Wrap it into a full circle
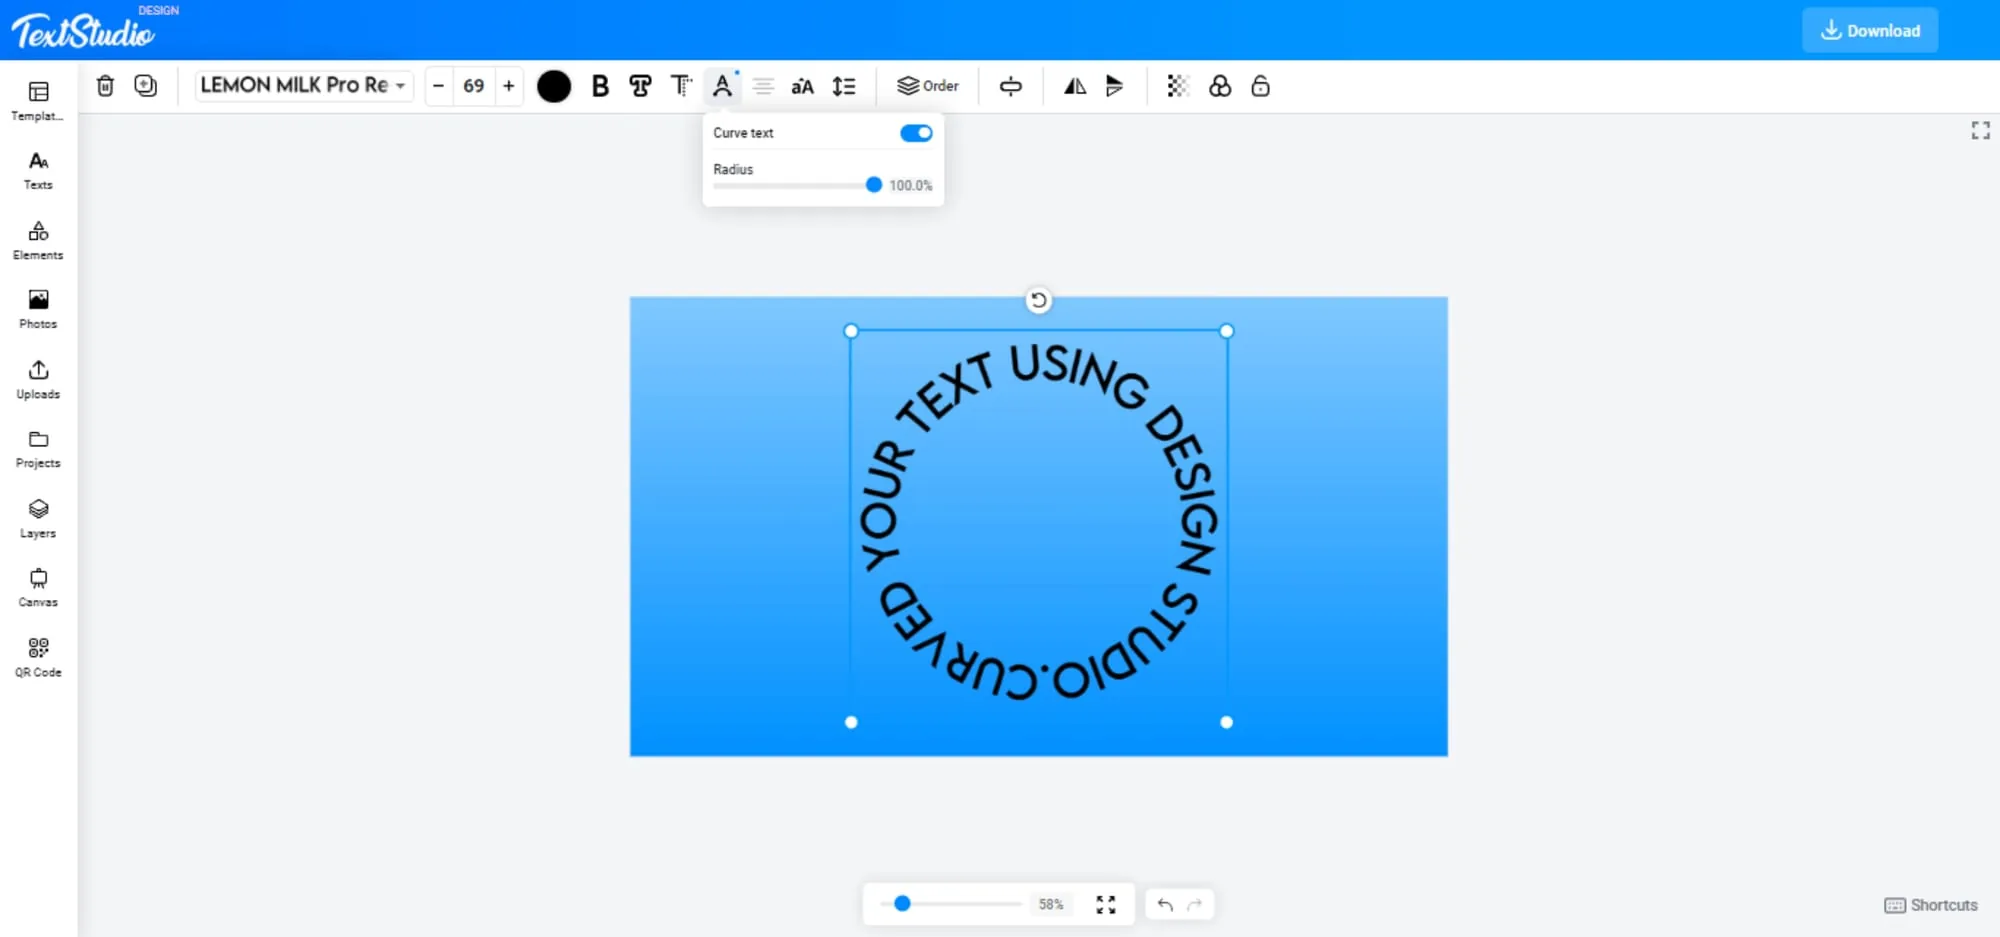
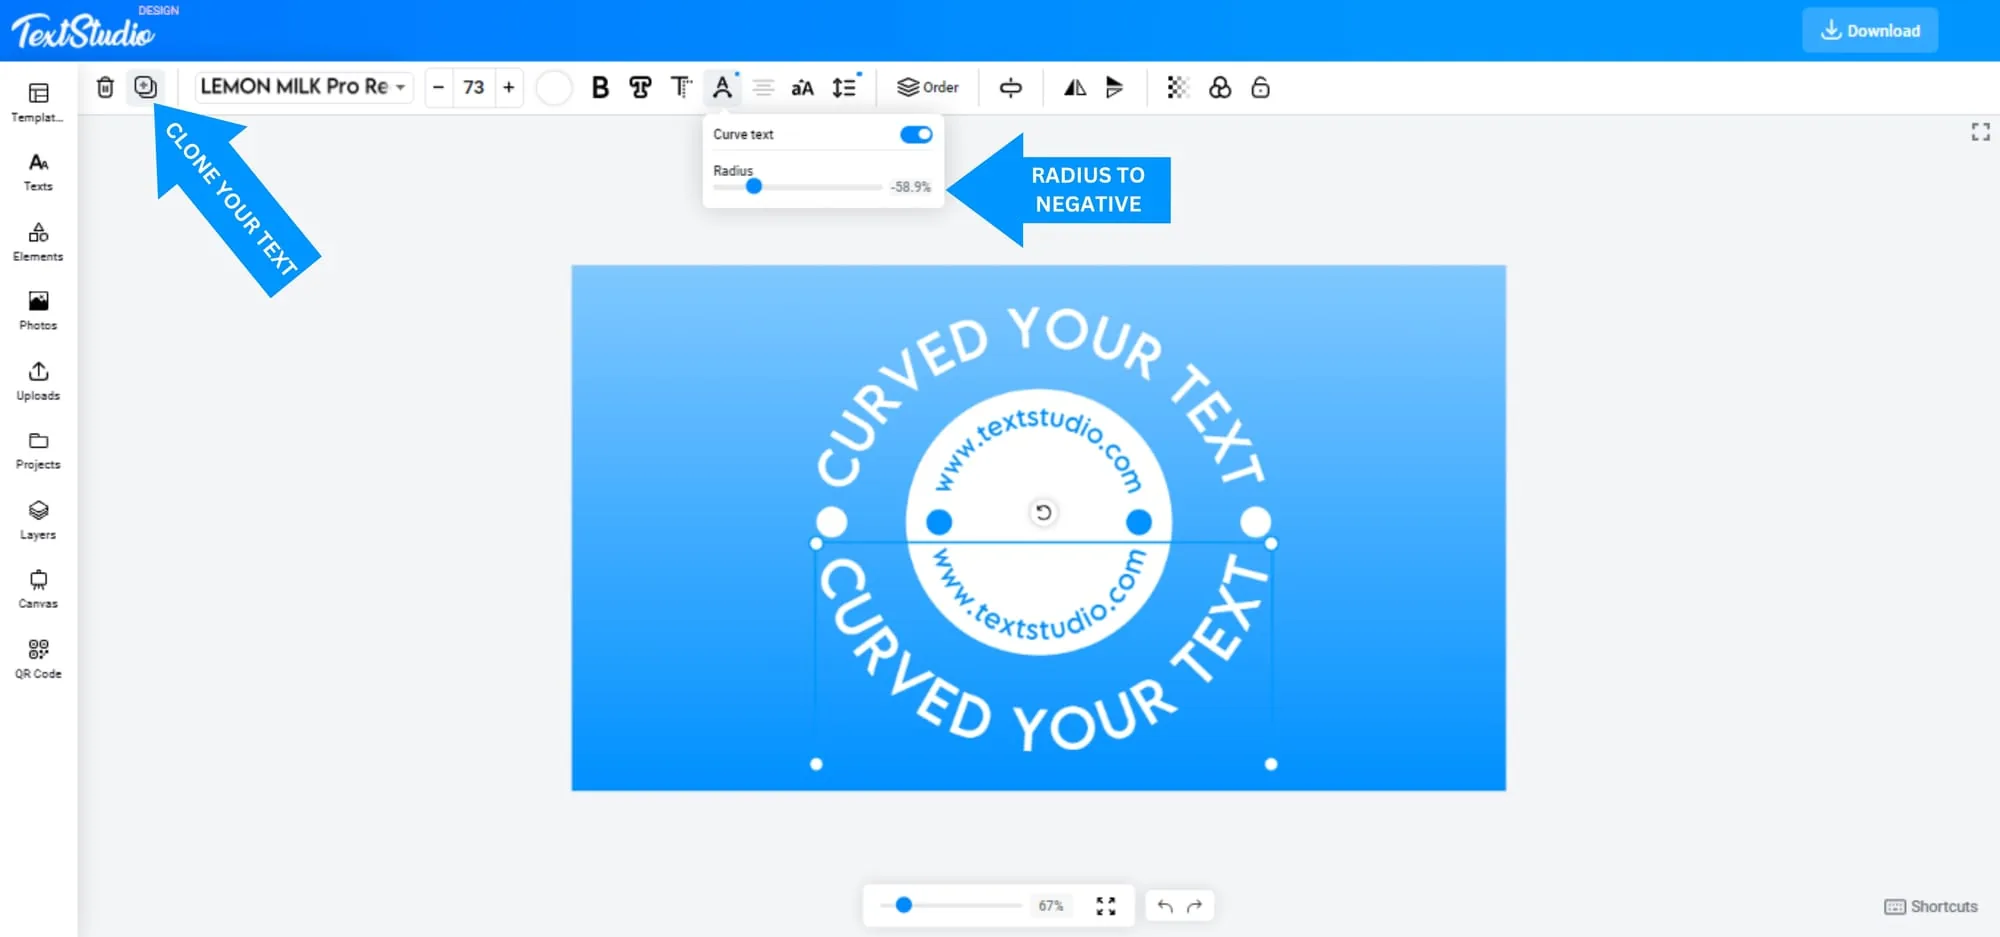
Push the radius all the way, and the two ends of your text meet to form a complete ring. Circular text is the backbone of stamps, seals, emblems and coffee-shop logos.
Curve text underneath for a badge
Most badges have two lines: one arching over the top, one curving under the bottom. To get the lower line, duplicate your text layer and set the radius to a negative value so it bends the other way. Line the two up, drop a shape or icon in the middle, and you have a finished circular badge.
Put it on products and photos
Curved text really shines on real objects. Wrap a name around a mug, arch a slogan across a t-shirt, or curve a caption along the edge of a photo so it follows the composition instead of fighting it.
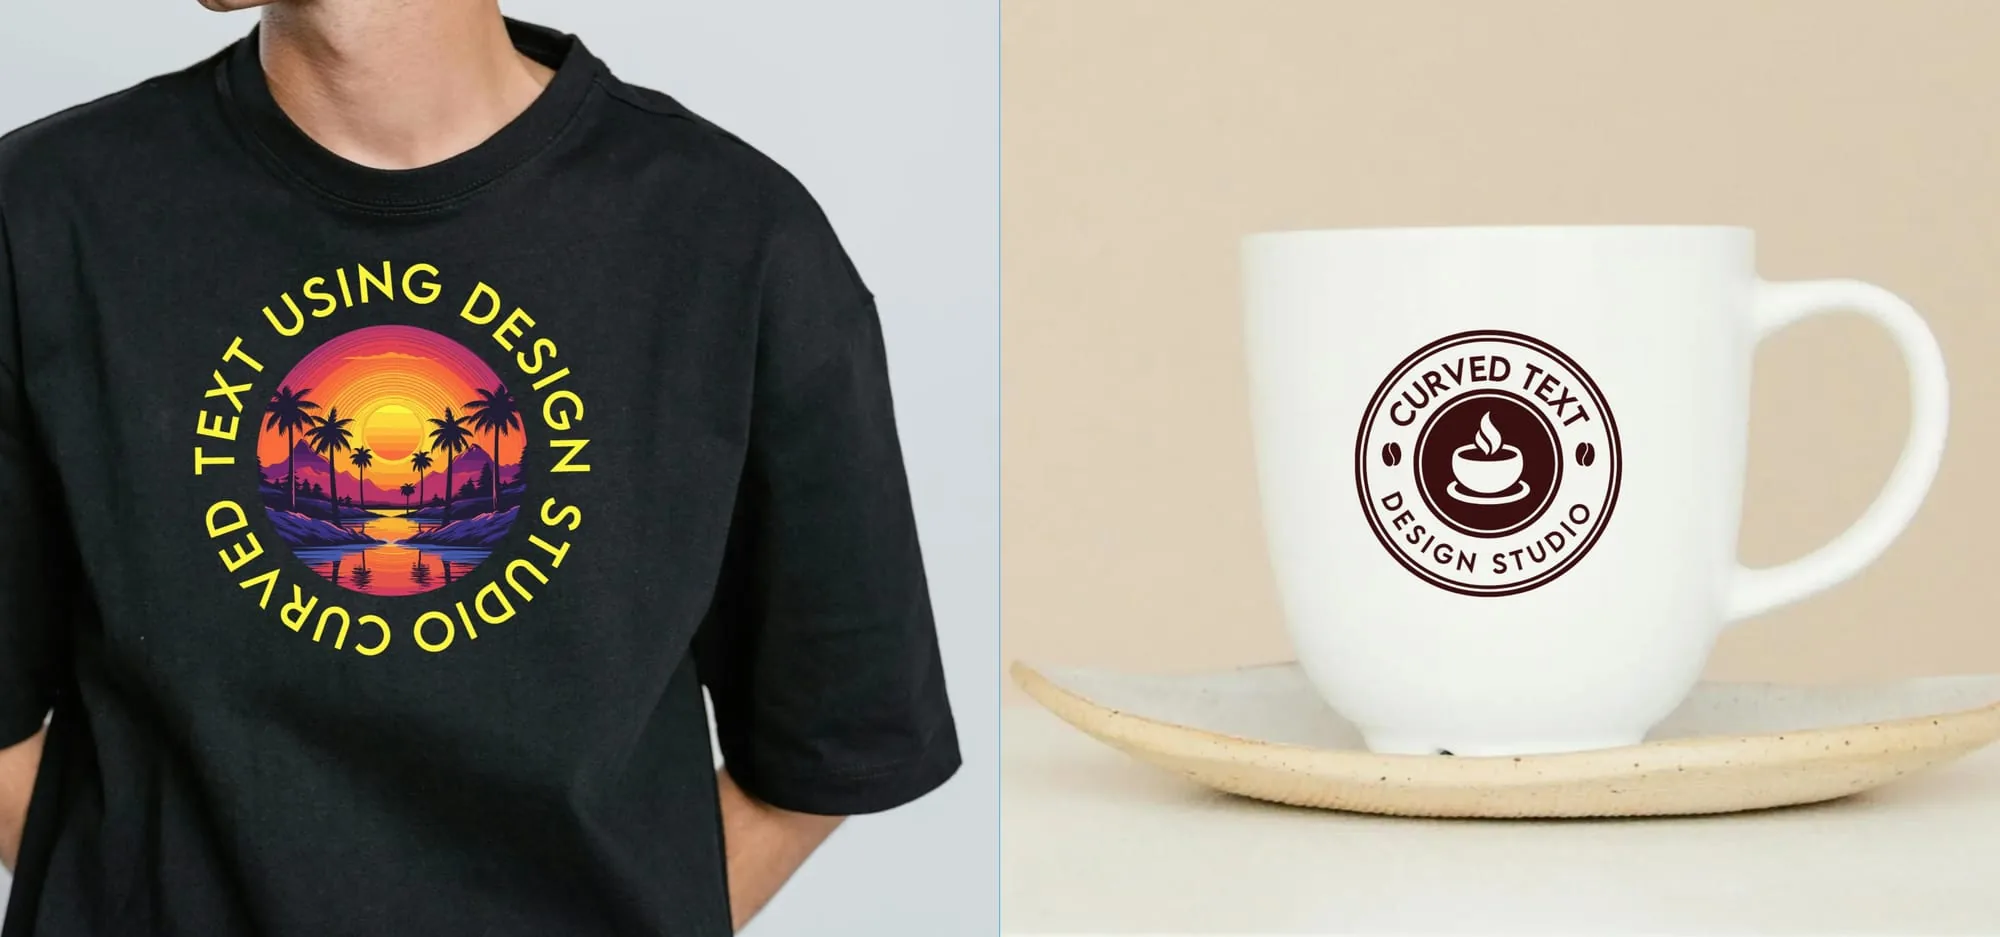
When you add curved text over an image, tweak the color and add a soft shadow so it stays readable against the background. For an even tighter blend, image masking lets you clip a shape or the text itself into the photo so nothing overlaps awkwardly. The goal is for the text to sit on the photo naturally, like it was always part of it.
Need more than a curve?
Design Studio is the quick, friendly way to curve and circle text, and curving is just one of the many ways to transform your ideas into unique designs with Design Studio. If you want to push further, the TextStudio editor adds richer text effects on top of the curve.
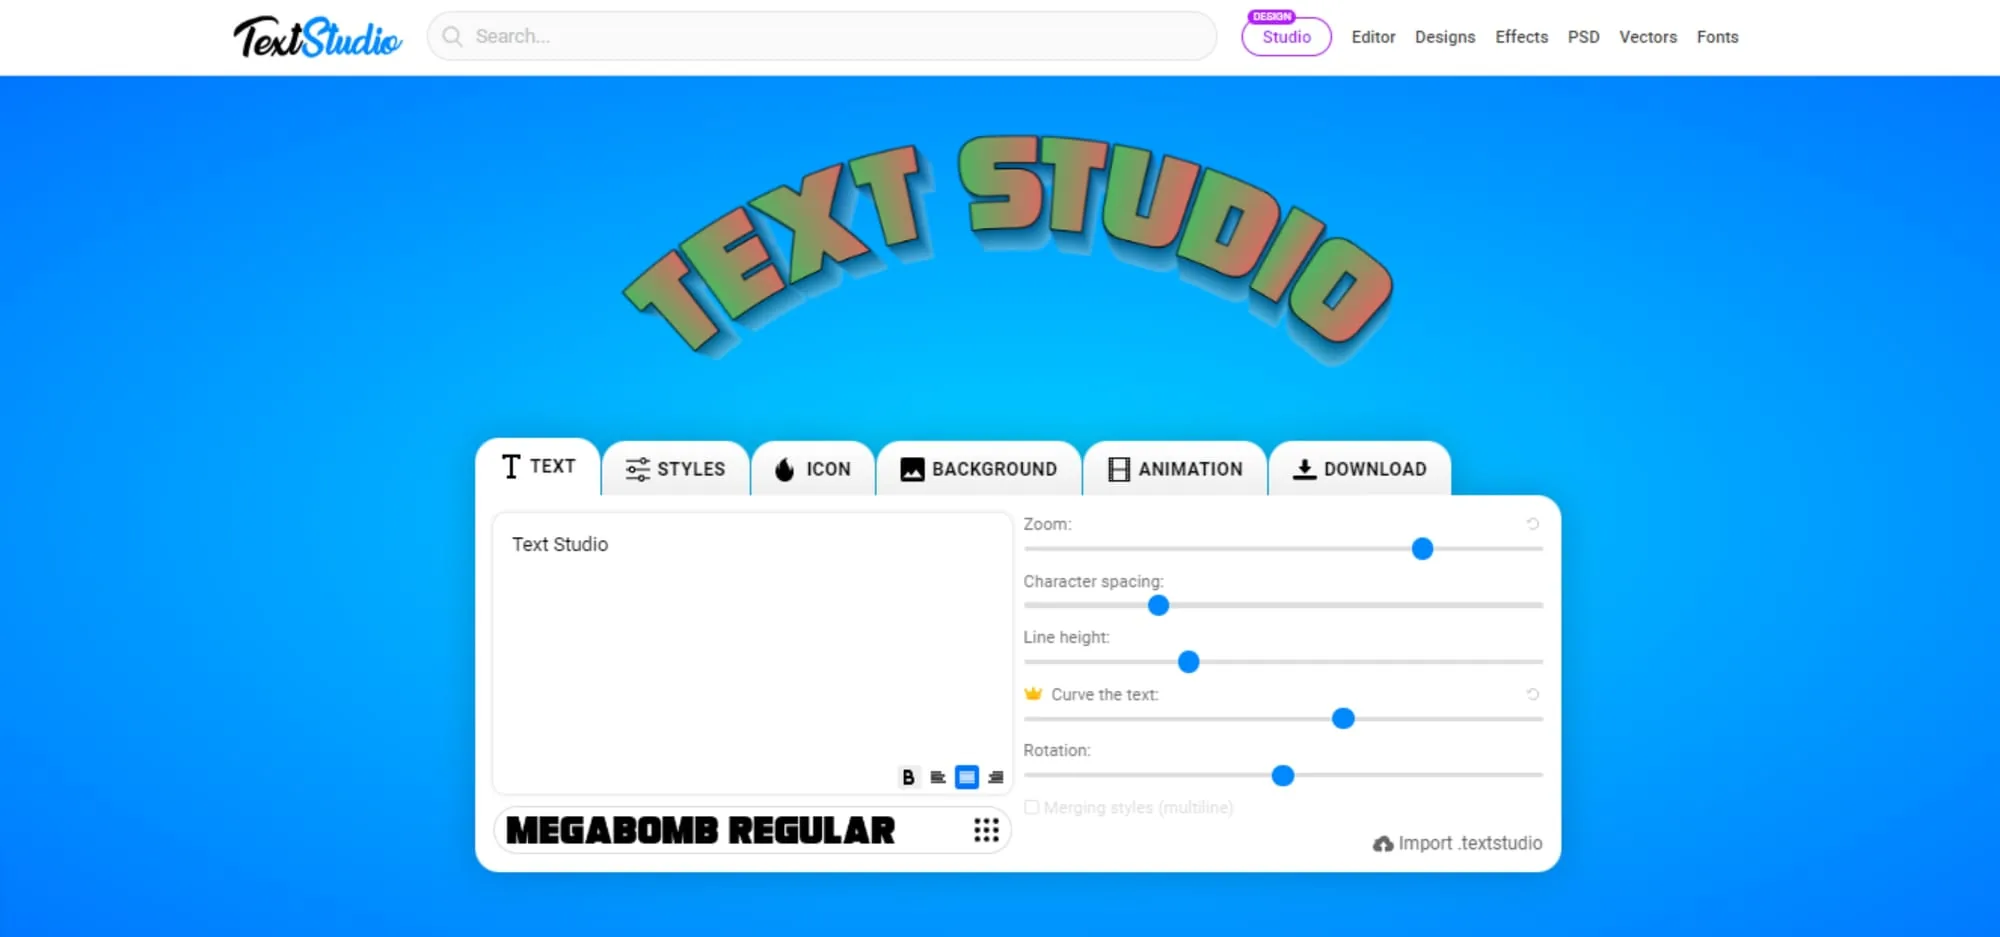
And a curve is really just one kind of warp. If you want to bend text into waves, arcs, flags or free-form shapes, take a look at our guide to warping text online.
Frequently asked questions
Is curving text free? Yes. You can curve, arch and circle your text in Design Studio for free, right in the browser, with no software to install.
How do I make text a full circle? Add your text, turn on Curve Text, and push the radius to its maximum. The ends meet to close the ring. For a two-line badge, duplicate the text and give the second line a negative radius.
Can I curve text on a photo? Yes. Add or upload your image, place the curved text on top, then adjust its color and shadow so it reads clearly against the background.
What is the difference between curved and warped text? Curving bends text along a circle or arc. Warping is broader: waves, bulges, flags, perspective and free-form shapes, with the curve being just one of them.
Curve your first word
Badges, logos, mugs, seals or a simple arched headline: curved text gives a design that professional, finished feel, and it takes one slider.
👉 Open Design Studio and curve your first word now, it is free.