Transform Your Ideas into Unique Designs with Design Studio
Creating a design from scratch can seem overwhelming, but with the right tools and guidance, it becomes much easier. In this step-by-step guide, we’ll walk you through how to create a stunning design using Design Studio. Whether you’re a beginner or have some experience with design, this guide will help you from start to finish.
How to Create a Design Using Design Studio: A Step-by-Step Guide
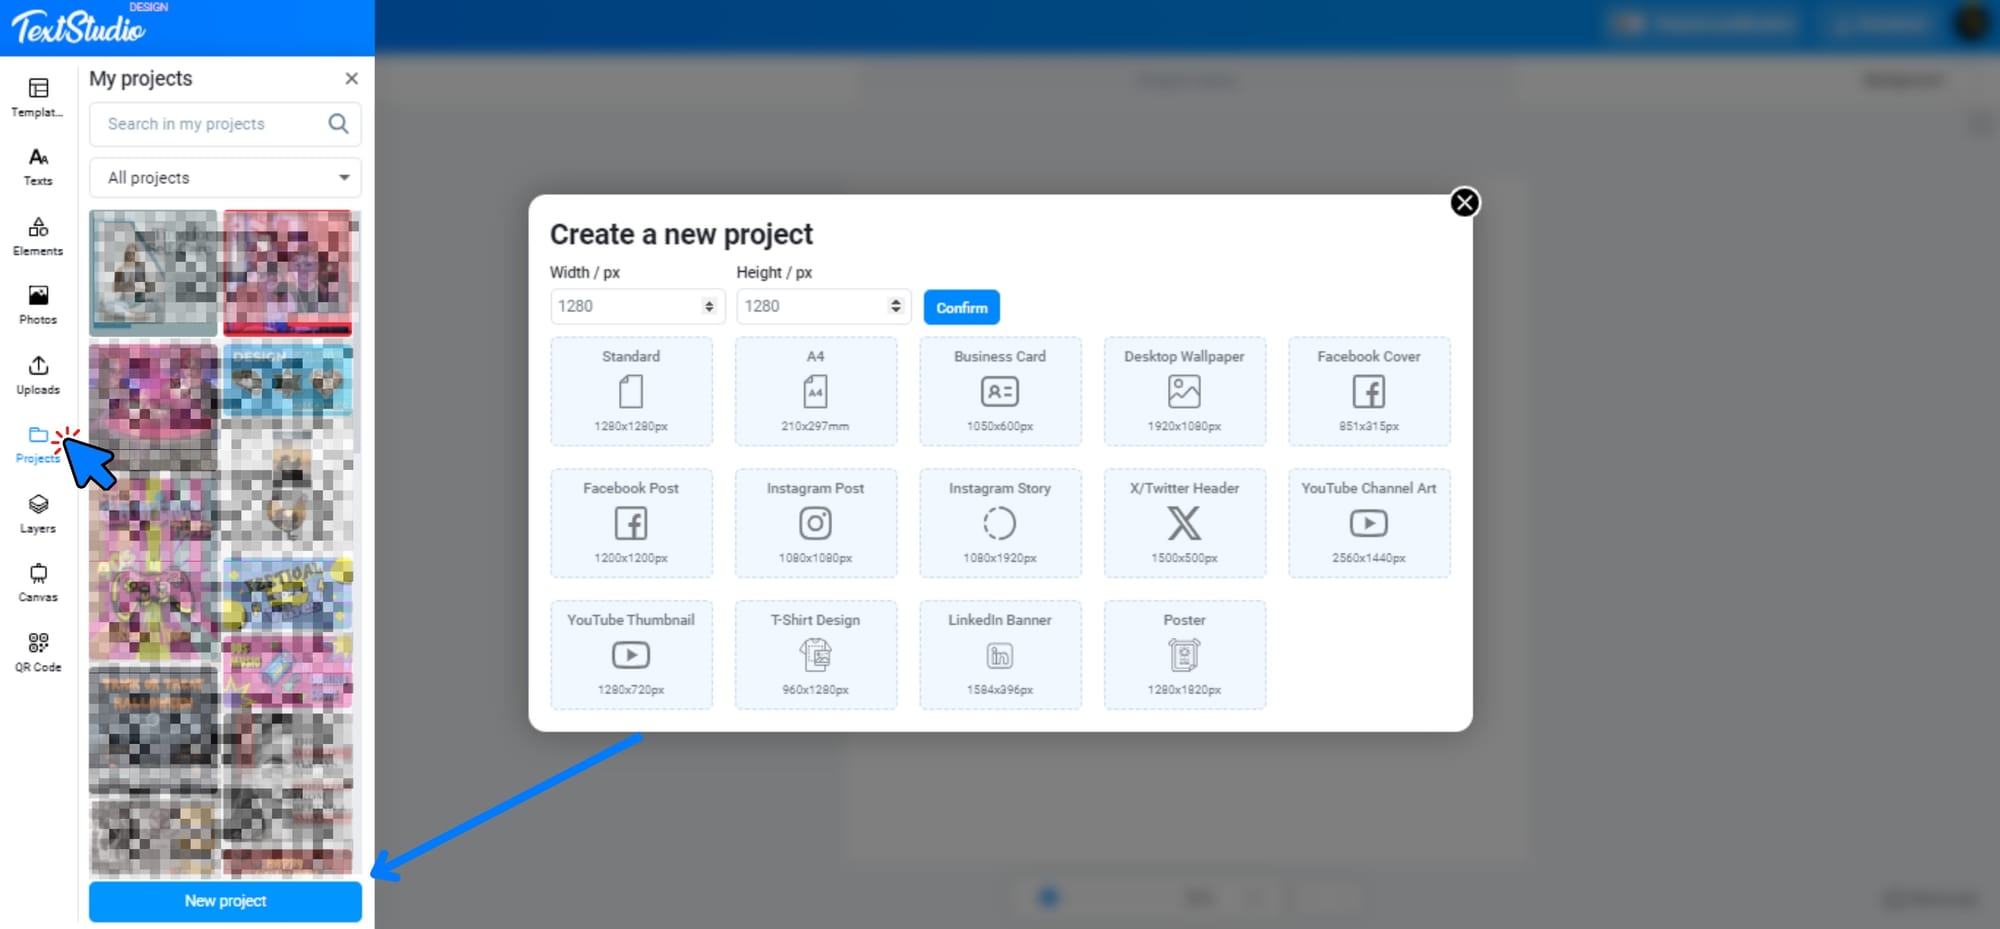
Step 1: Choose the Right Dimensions for Your Design
The first thing to consider when creating a design is choosing the correct dimensions. The dimensions you select should depend on the purpose of your design. For example, Instagram posts require a square (1080x1080px) format, while Facebook covers need a rectangular format (820x312px). Most design platforms, including Design Studio, provide presets for common sizes, or you can input custom dimensions.
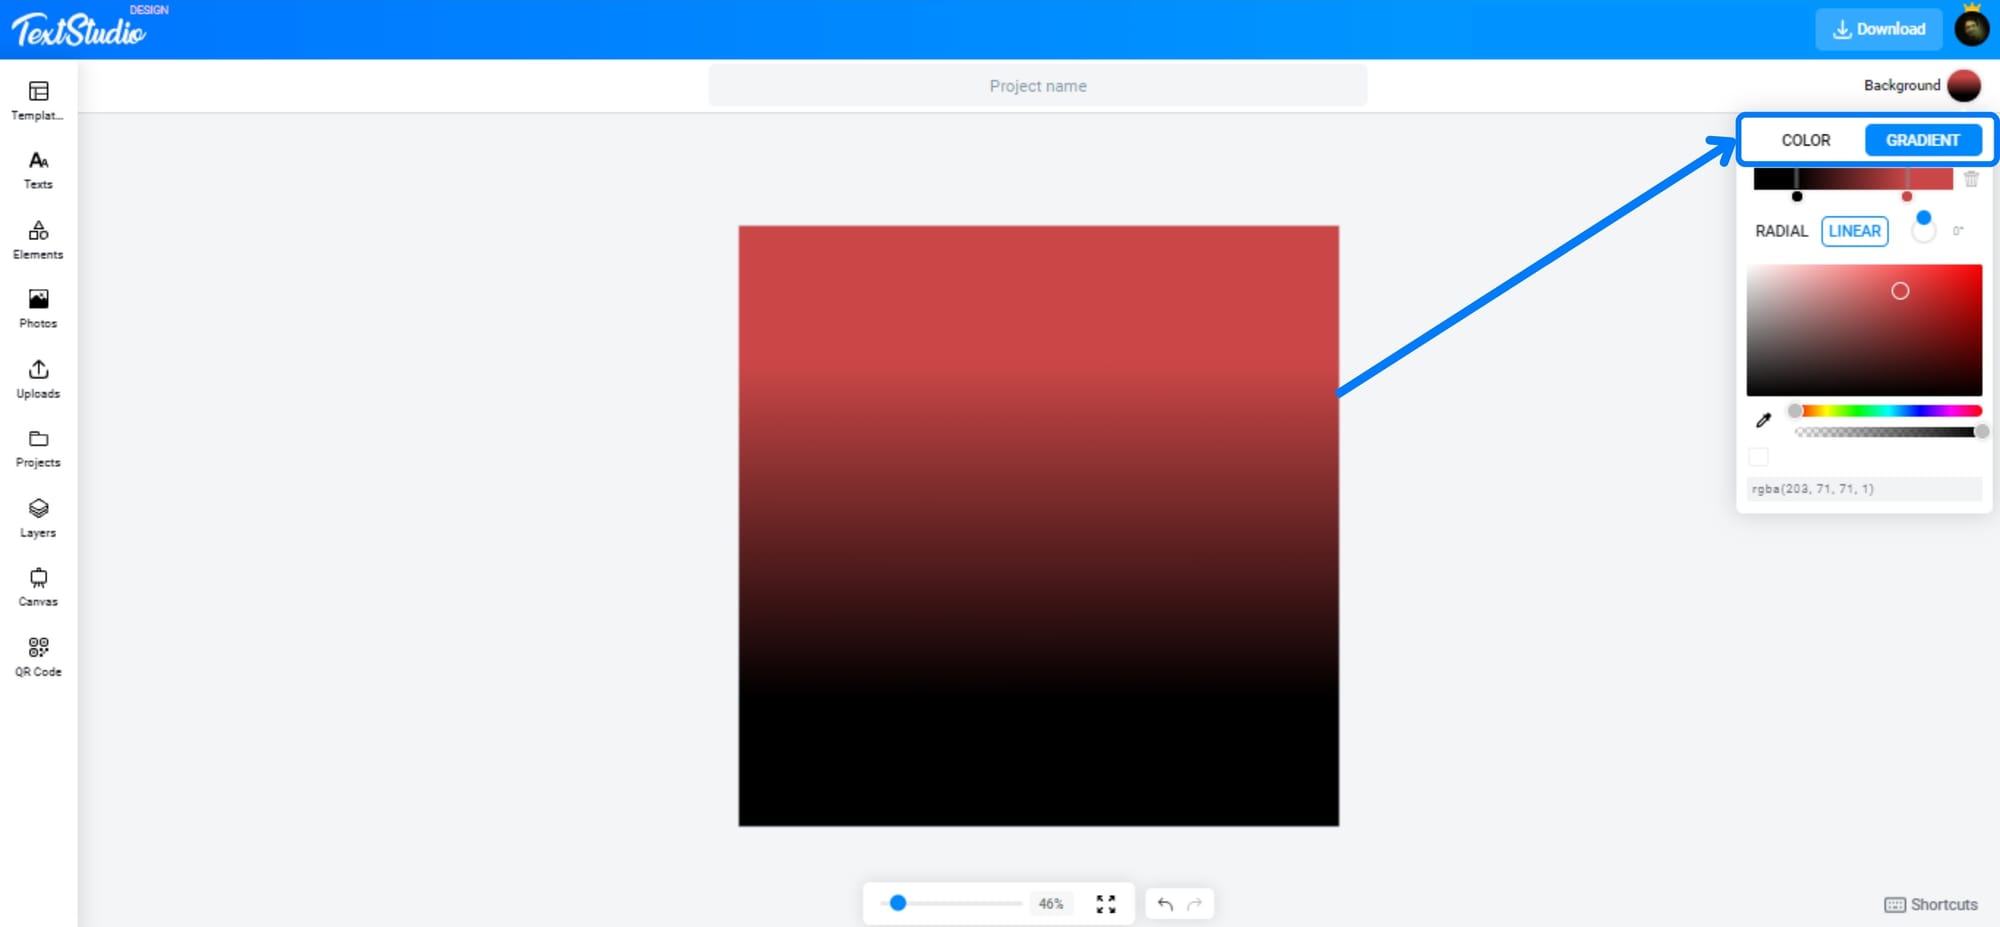
Step 2: Select Your Background
Your design’s background sets the overall tone. You can choose between photos or colors to enhance your project’s look. Design Studio offers both options, allowing flexibility.
Option A: Pick a Color Background (Solid or Gradient)
Option B: Use a Photo as Your Background
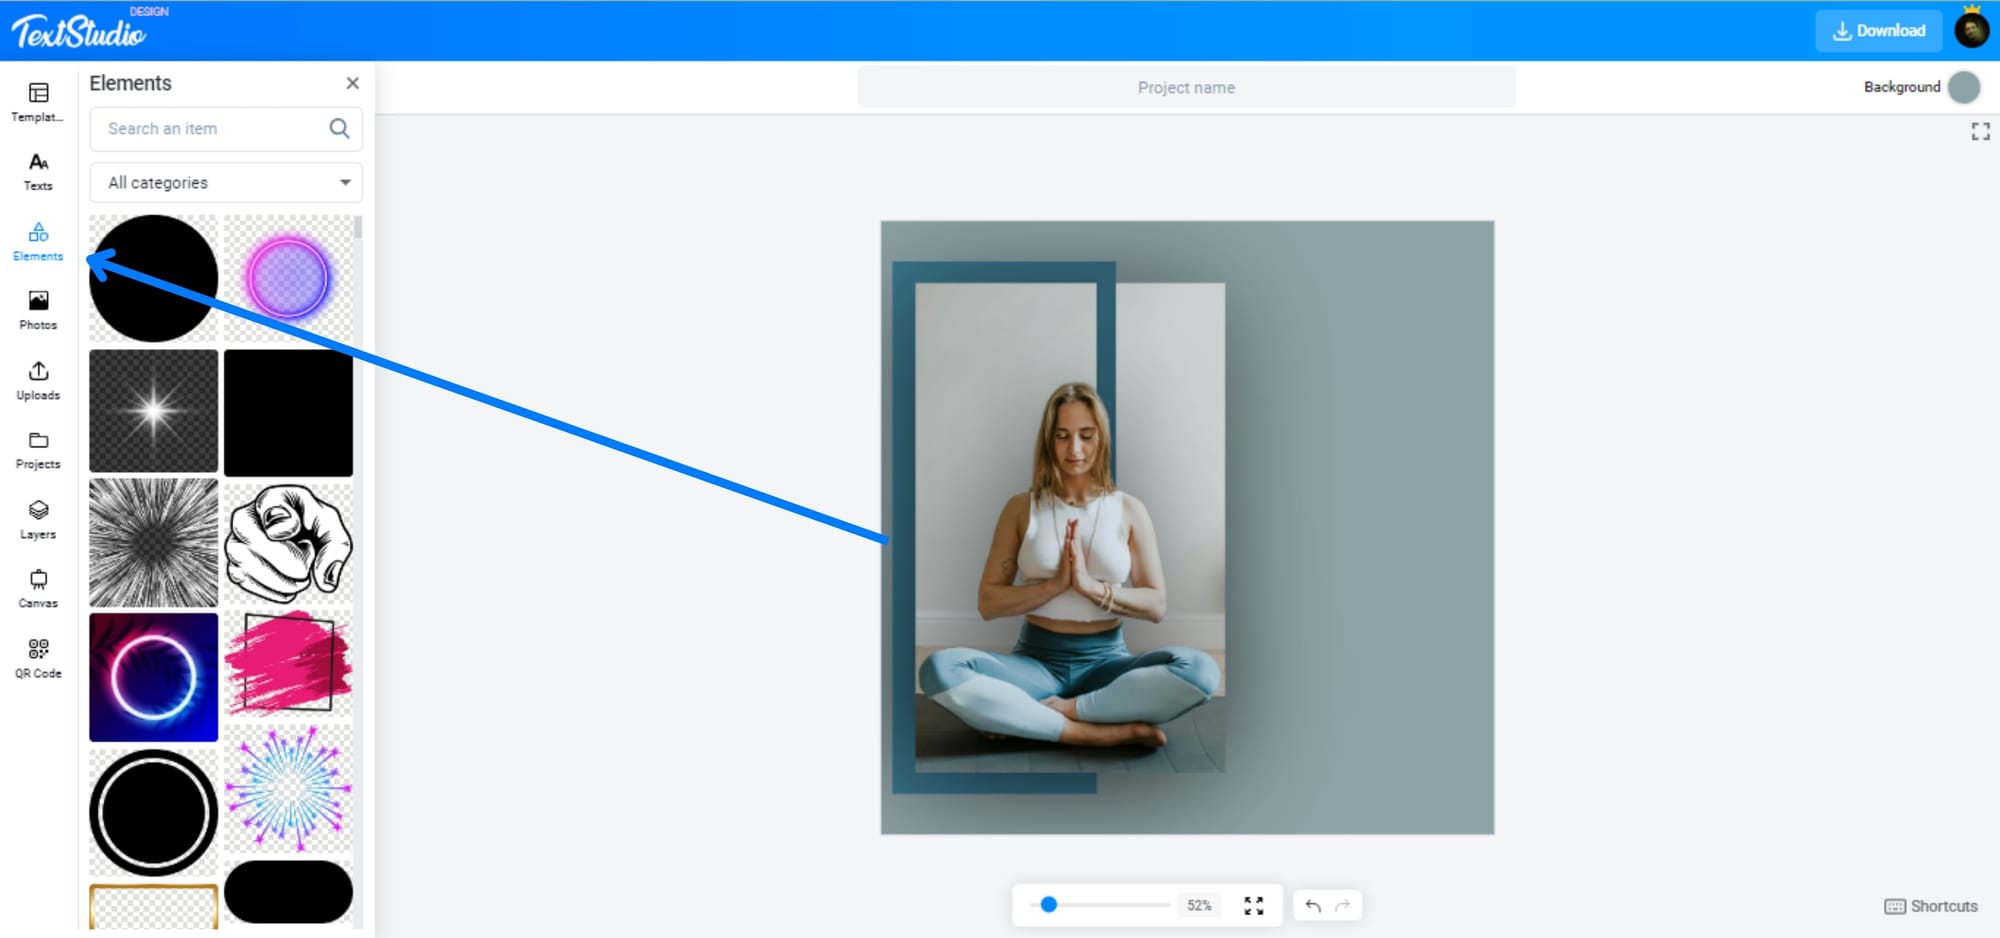
Step 3: Add Elements to Your Design
After setting the background, the next step is to add elements. This could include shapes, lines, icons, or even photos. Design Studio has a wide array of pre-designed elements in its library, or you can upload your own to personalize the design.
Be mindful of how you arrange these elements. Use alignment and spacing tools to create a balanced composition. Combining a few well-placed elements with the right background can make a design feel polished and professional.
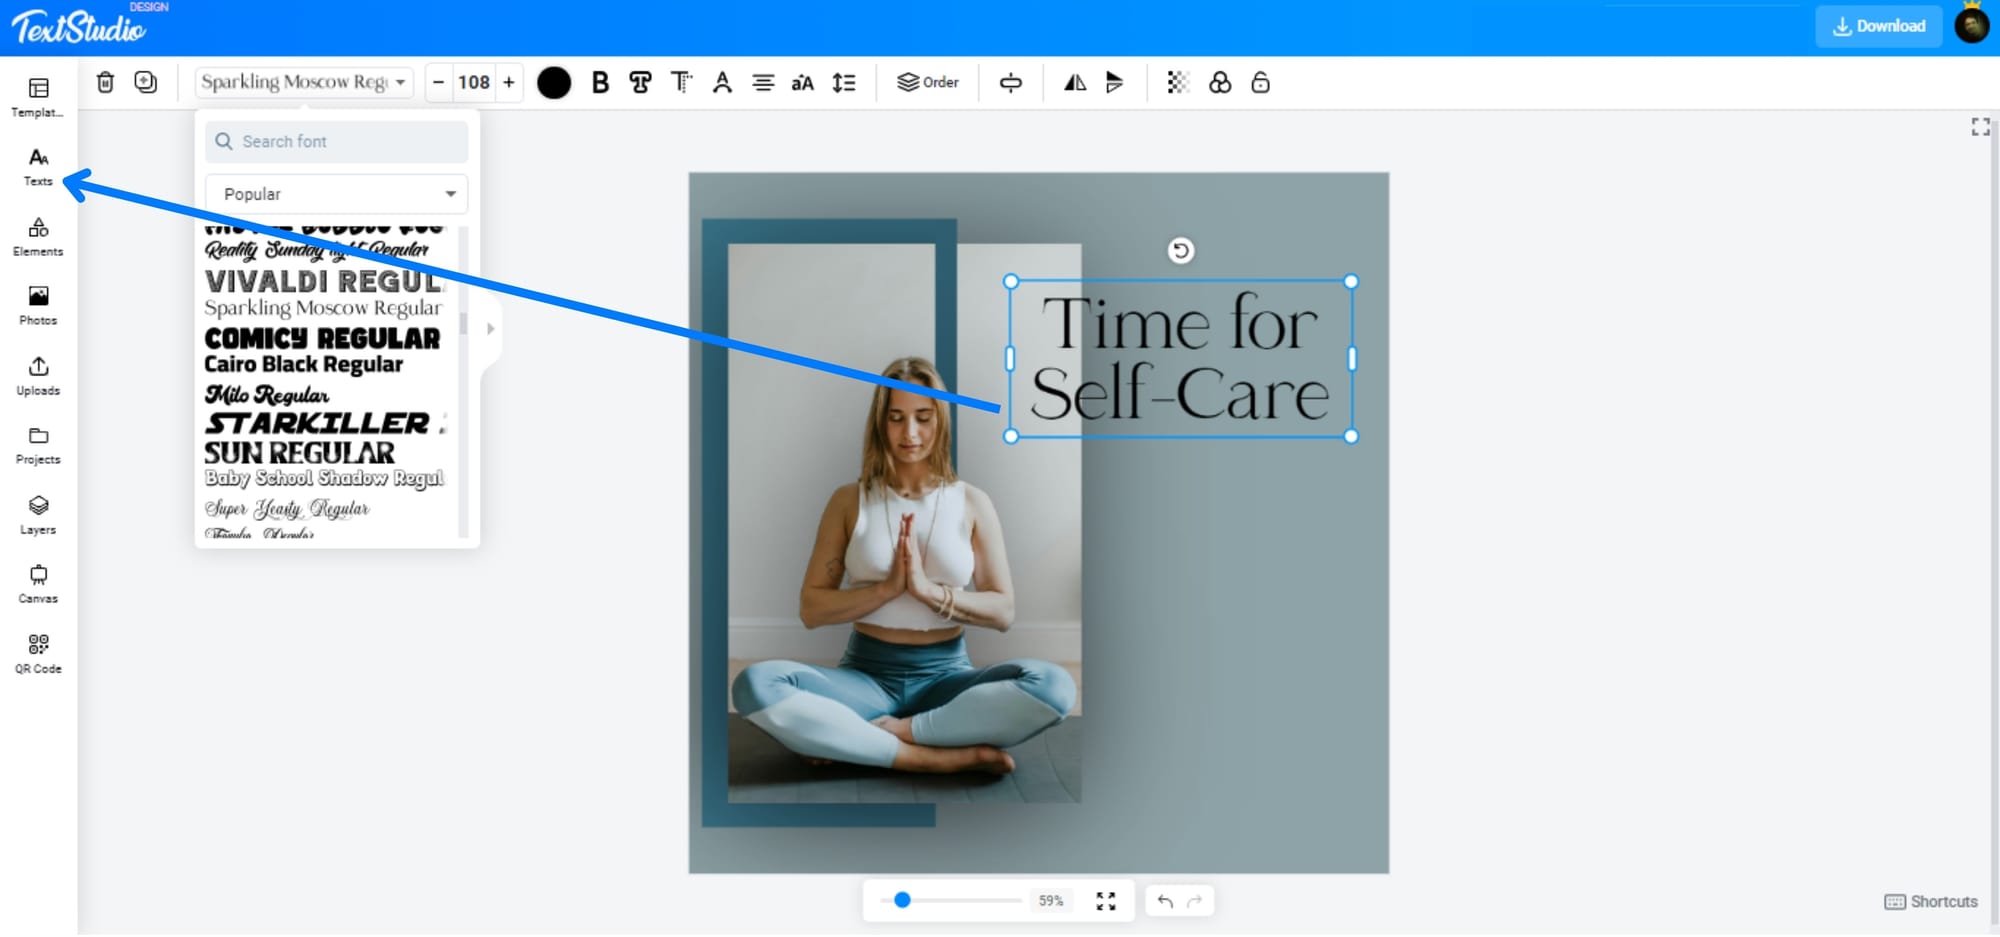
Step 4: Choose the Right Fonts
The fonts you choose should align with your message and brand identity. Design Studio provides a variety of fonts, from bold and modern to elegant and classic, also you can re-create the font from this website. When selecting a font, ensure it’s readable and works well with the overall theme.
To create a visual hierarchy, use different font sizes and styles. For example, use a bold font for your headings and a lighter one for the body text. Also, try not to use more than two different fonts in a single design to keep it cohesive.
Step 5: Adjust and Finalize Your Design
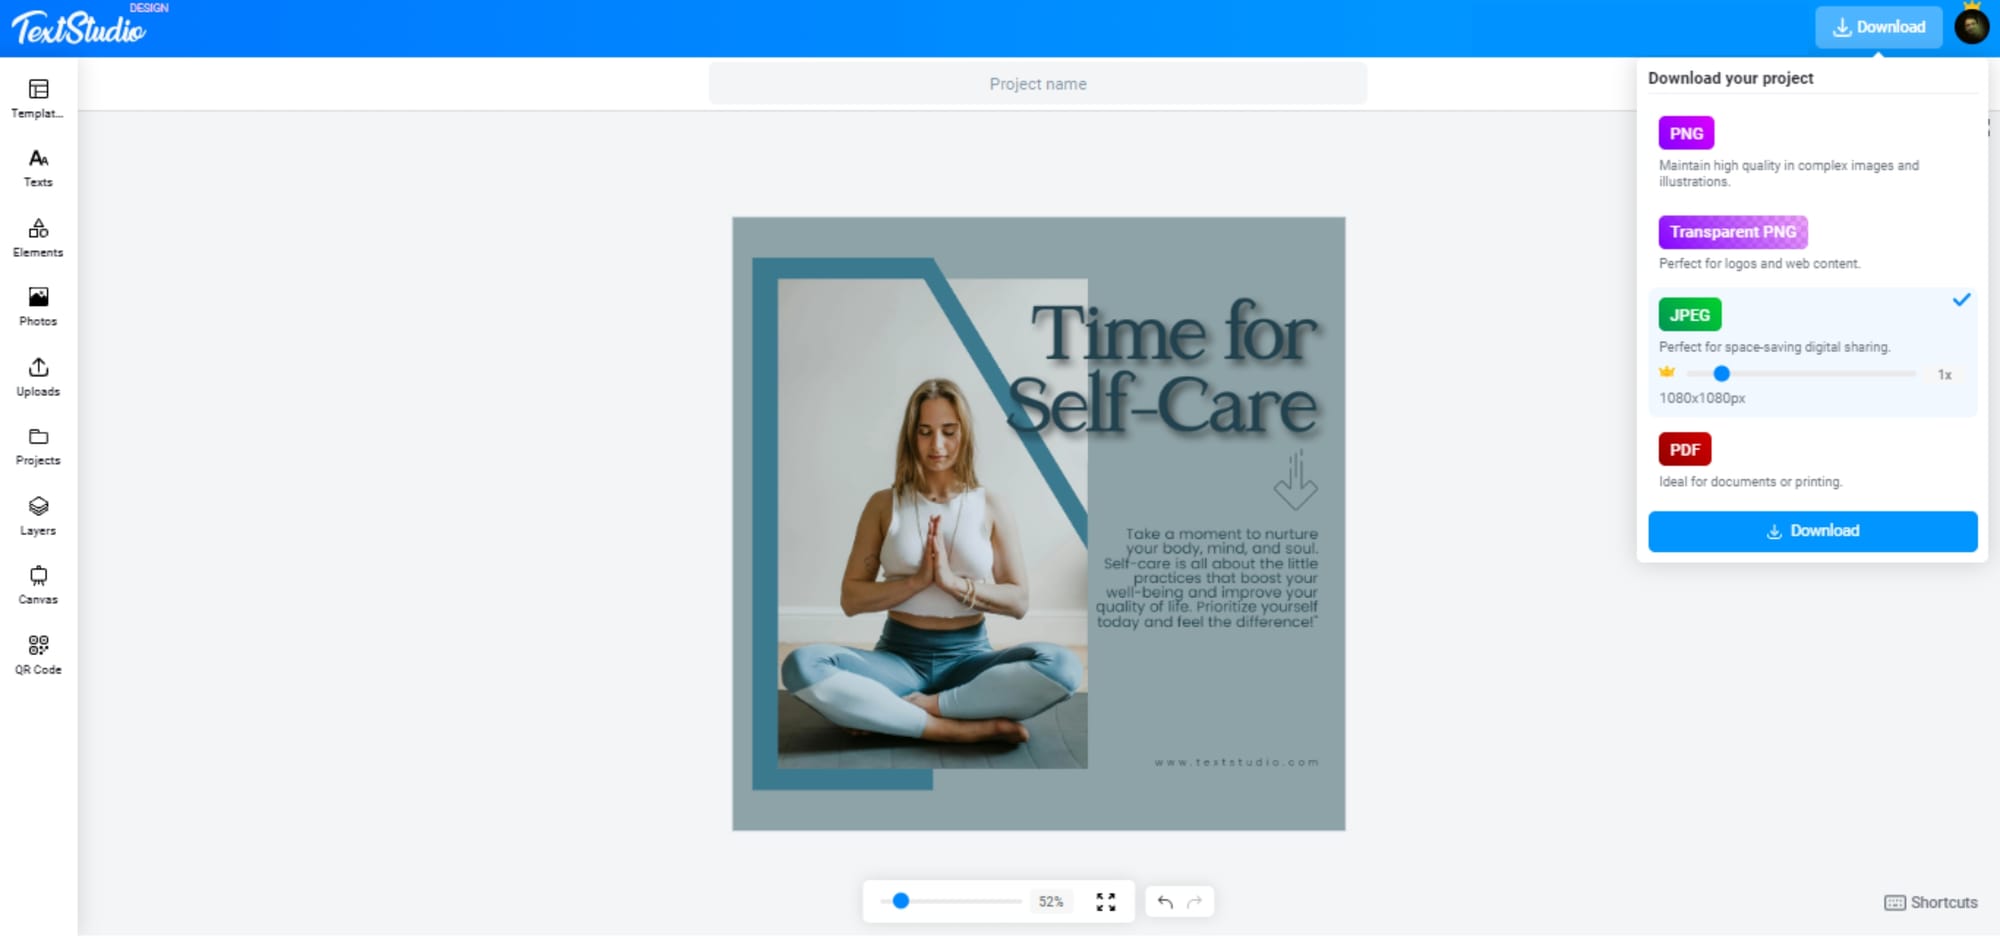
Once you’ve added elements and text, the final step is to tweak your design. Make small adjustments like aligning objects, tweaking color balance, and ensuring that everything looks just right. Use Zoom tools to inspect the details and ensure your design is pixel-perfect. Now it's time to download (JPG, PNG, PDF).

Conclusion: Bringing It All Together
Design Studio makes it easy to create professional designs with its intuitive tools and flexible options. By following the steps outlined in this guide—choosing the right dimensions, setting up a background, adding elements, selecting the perfect fonts, and finalizing your work—you can create a design that stands out.
Whether you’re designing for social media, presentations, or marketing materials, this process will help you achieve a polished and professional result. Keep experimenting with different elements to bring your creativity to life in Design Studio.