How to Add Stroke to Text

Adding a stroke to your text can dramatically enhance its visual impact, making it stand out in designs, logos, or social media graphics. With TextStudio, our online text generator, you can easily add striking strokes to your text without the need for complex design software. This guide will walk you through the process step-by-step.
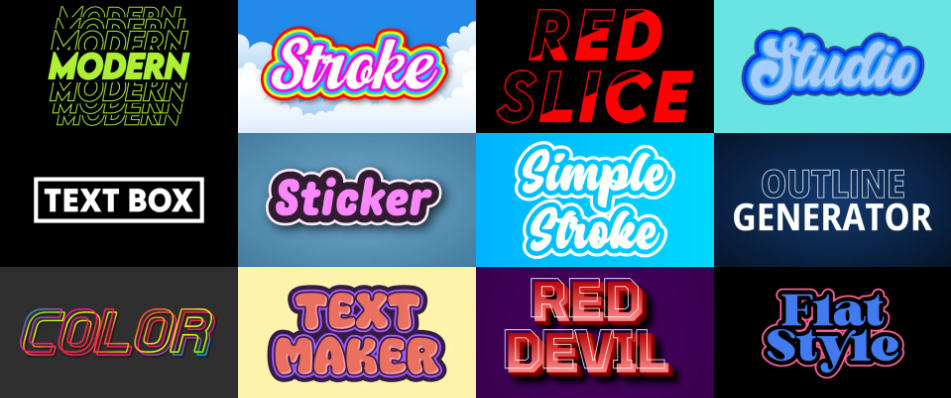
What is Text Stroke?
Before we dive into the how-to, let's clarify what we mean by "stroke." In typography and design, a stroke refers to an outline that surrounds the letters of your text. This outline can vary in thickness, color, and style, allowing for creative customization of your text's appearance.
Getting Started with TextStudio
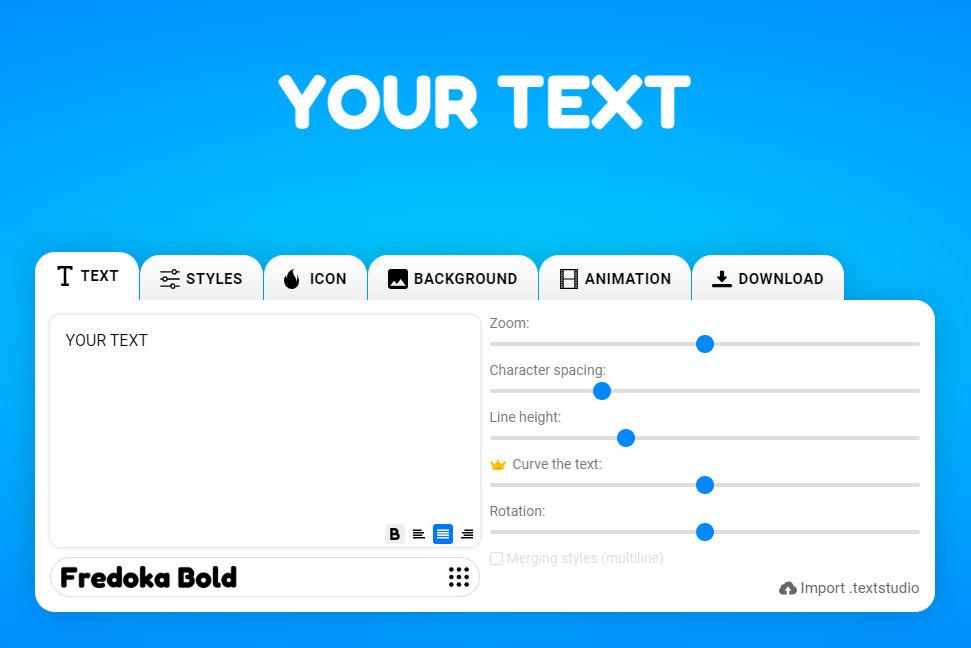
- Access TextStudio: Navigate to the TextStudio website. Our user-friendly interface makes text editing a breeze, even for beginners.
- Enter Your Text: In the main text input area, type in the word or phrase you want to enhance with a stroke.
- Choose Your Font: Select a font that suits your design. Some fonts may display strokes more effectively than others, so feel free to experiment.
Adding Stroke to Your Text
Now, let's add that eye-catching stroke:
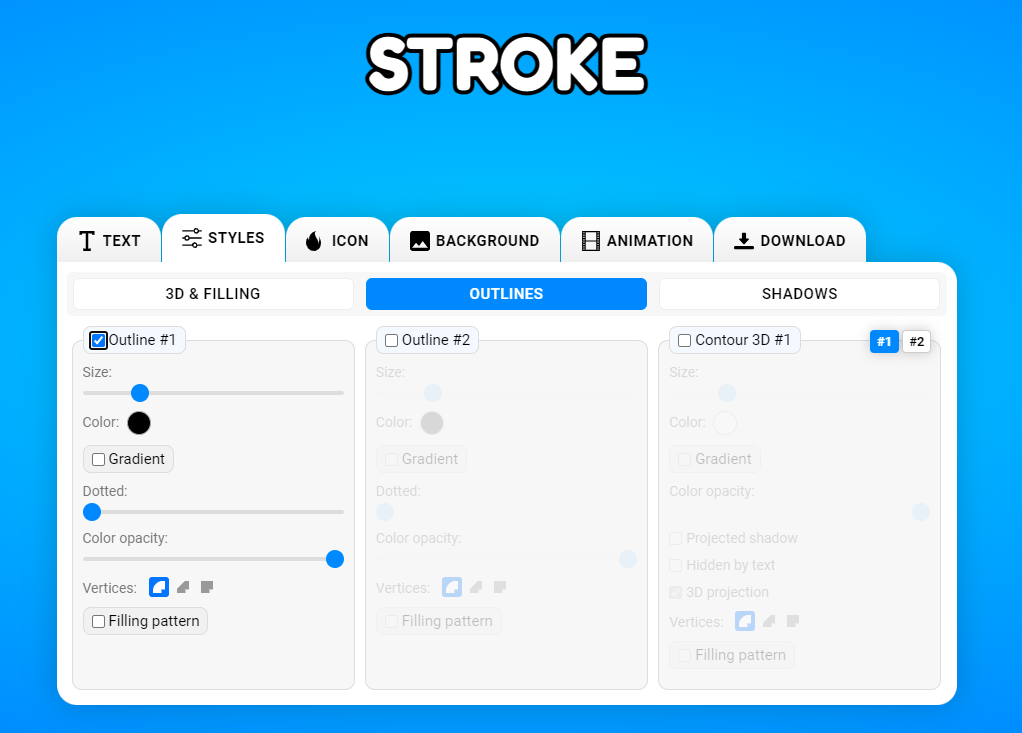
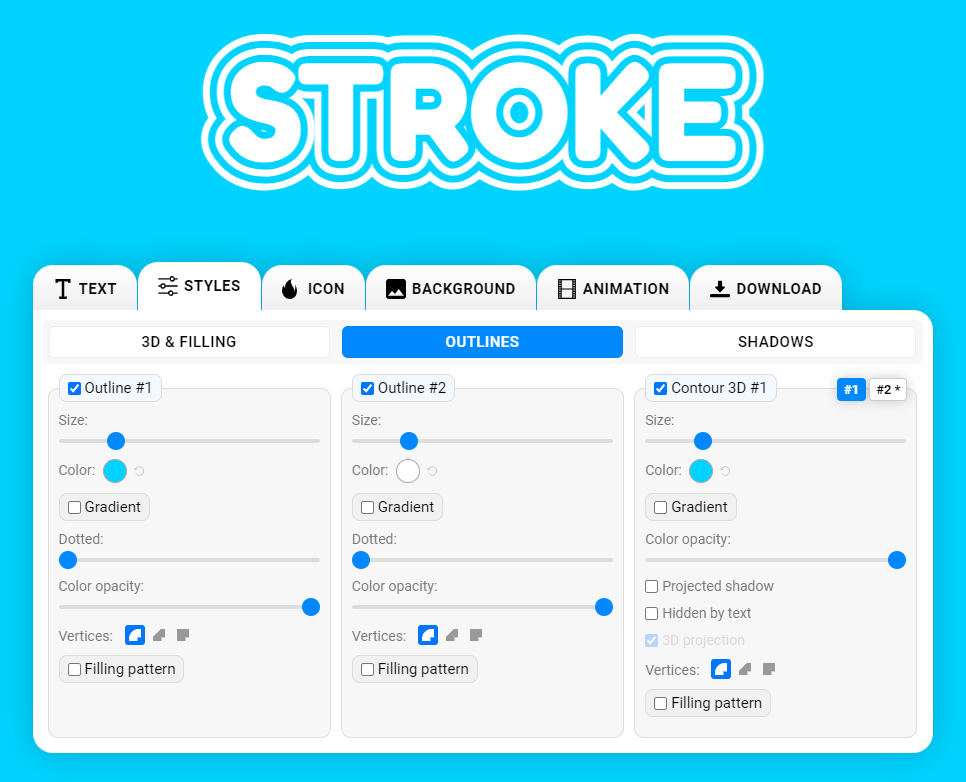
- Locate the Stroke Options: Look for the "Stroke" or "Outline" section in the editing panel.
- Activate the Stroke: Toggle on the stroke feature if it's not already activated.
- Adjust Stroke Thickness: Use the thickness slider or input a specific value to set how thick you want your stroke to be.
- Choose Stroke Color: Click on the color picker to select a color for your stroke. You can choose from preset colors or input a specific hex code.
- Fine-tune Your Stroke: Depending on TextStudio's features, you might have additional options like:
- Stroke opacity
- Stroke style (solid, dashed, etc.)
- Inner/outer stroke positioning
Tips for Effective Text Strokes
- Contrast is Key: Choose a stroke color that contrasts well with both your text color and background for maximum impact.
- Consider Readability: While strokes can enhance text, ensure they don't compromise legibility.
- Match Your Design: Make sure your stroke complements the overall design and doesn't overpower your message.
Multiple Strokes for Advanced Designs
TextStudio takes text customization a step further by allowing you to add multiple strokes to your text. This feature opens up a world of creative possibilities. With multiple strokes, you can create depth, shadow effects, or even rainbow-like outlines. To add additional strokes, look for an "Add Stroke" or "+" button in the stroke section. Each new stroke can have its own thickness, color, and style, allowing you to layer effects for truly unique designs. Remember, when using multiple strokes, it's often effective to vary the thickness and use contrasting colors for a striking visual impact.
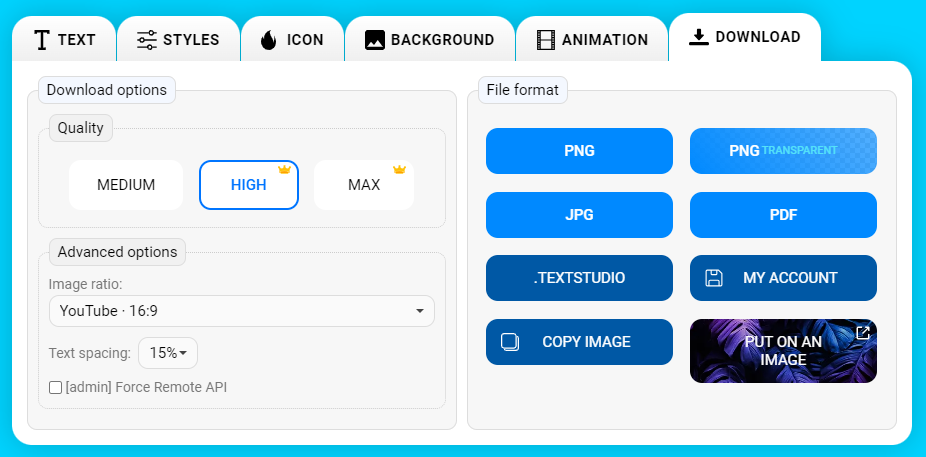
Previewing and Saving Your Design
- Use the preview function to see how your stroked text looks in different contexts.
- Make any final adjustments to perfect your design.
- When you're satisfied, choose your preferred file format (PNG, JPEG, SVG, etc.).
- Click the "Download" or "Export" button to save your creation.
Conclusion
Adding stroke to your text with TextStudio is a simple yet powerful way to elevate your designs. Whether you're creating a logo, designing a poster, or sprucing up social media content, mastering this technique will give your text that professional edge. Experiment with different stroke thicknesses, colors, and even multiple strokes to find the perfect look for your project.
Remember, great design often lies in subtle details. Use TextStudio's stroke feature to enhance your text, not overpower it. With these tools at your fingertips, you're well on your way to creating eye-catching, professional-looking text designs in no time!